Tag: Ride My Bicycle
-
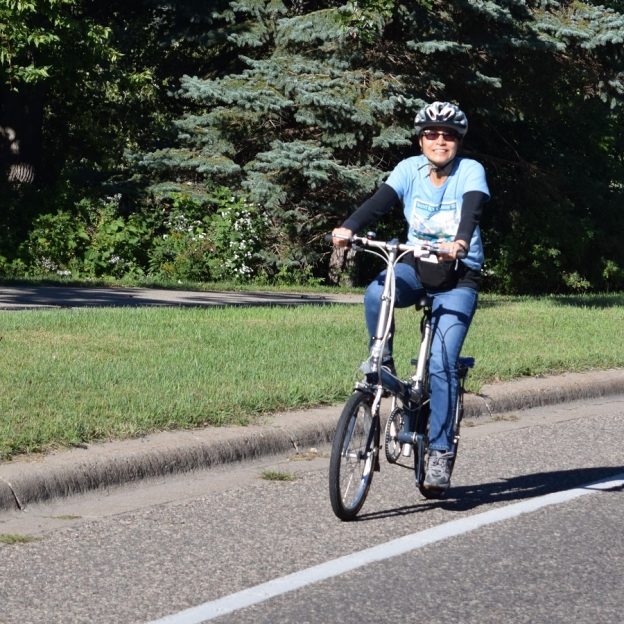
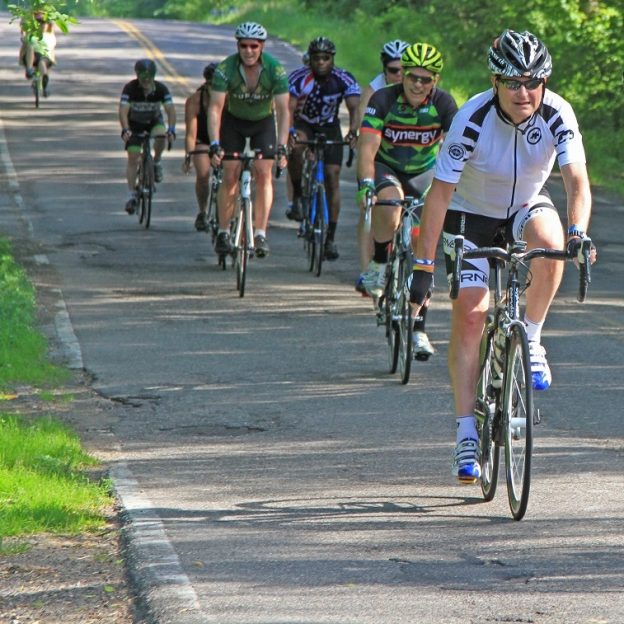
Bike Pic April 17, of 30 Days of Biking promises warmer weather
Yeah, its Friday with the sun shining, ride your bike!
-
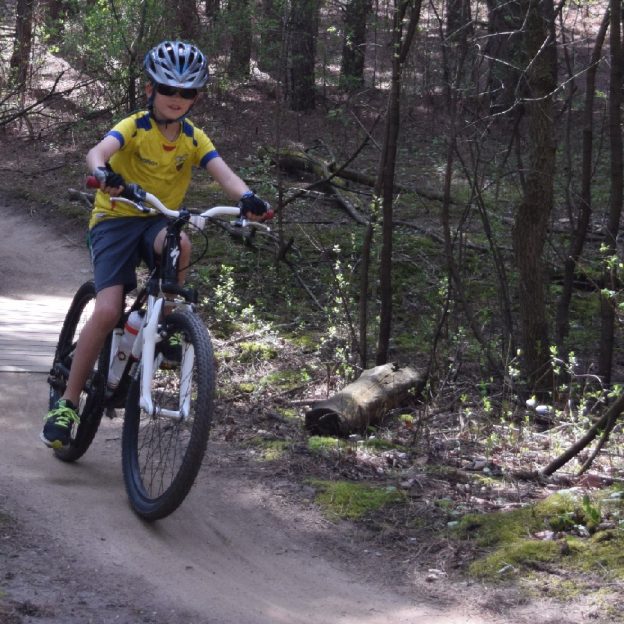
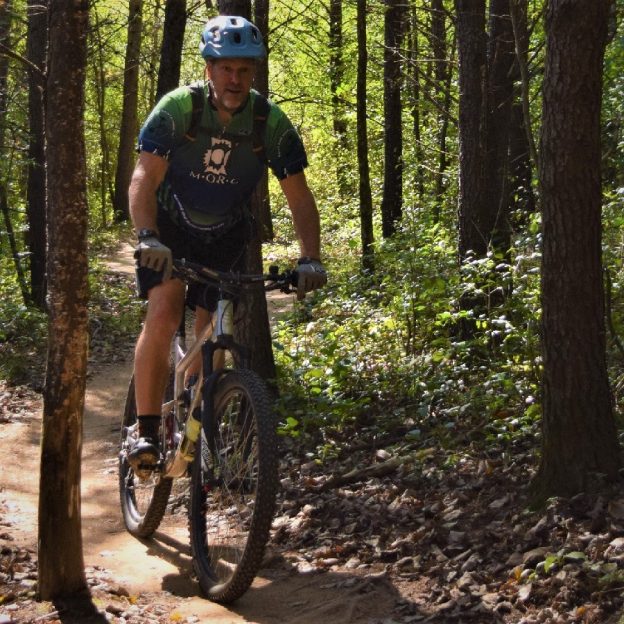
Bike Pic April 05, with miles of smiles Sunday mountain biking fun
Miles of smiles Sunday mountain biking fun
-
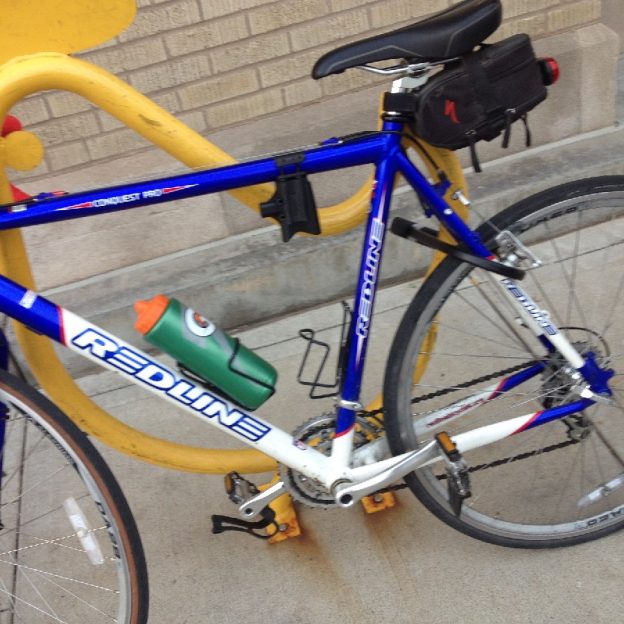
Bike Pic Ap 14, a Tuesday tip always lock up your bike
This Tuesday, lock your bike when to protect your investment
-
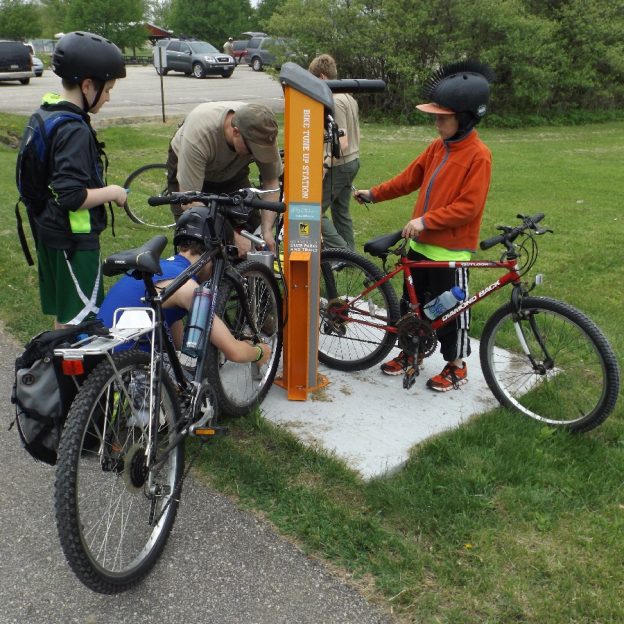
Do your part giving back to the cycling community you enjoy
Giving back to the trails, paths, roads and events you enjoy is a great way to stockpile some good karma and it’s fun! There are countless ways to give back to your cycling community. For example, you can volunteer to support rides, clean up a trail system, build a trail, support a high school cycling…
-
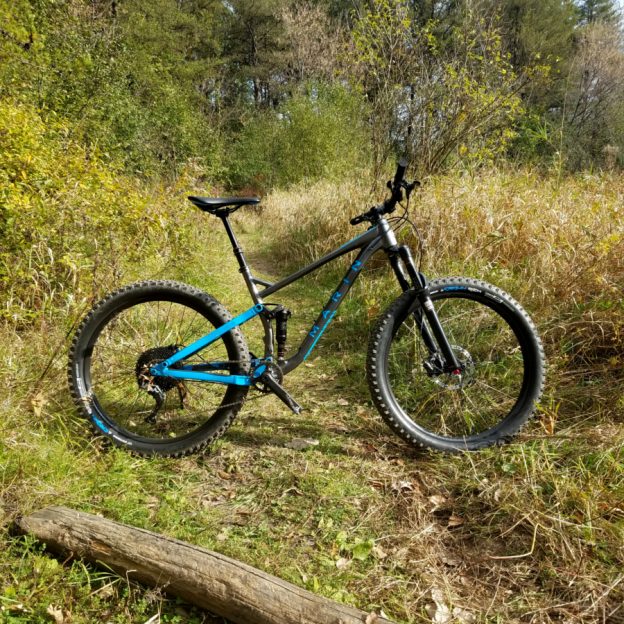
The Marin B-17 MTB review – out of the box and ready for the trail
Based on our quick MTB review at Interbike’s Dirt Demo, we have been extended a Marin mountain bike demo for a long term review. However, before I ride it and give you a full mountain bike review let me share what is actually coming out of that box.
-
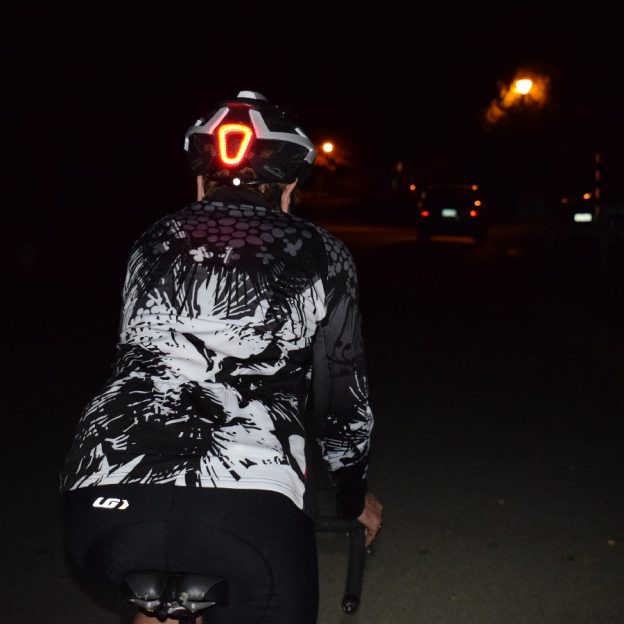
A first look at the revolutionary MagicShine Genie Helmet
Recently we reviewed a light from the wizards over at MagicShine, The MJ-900B. With that are package, they also included an amazing helmet, the Genie. The Genie is a revolutionary helmet that boasts a headlight and tail light as well as remote activated turn signals. Read on to see some more detail.
-

Cycling Nutrition Review: a clean, smooth approach to sports drinks
As you begin doing longer rides like the MS150, Minnesota Ironman, or any other charity ride, cycling nutrition becomes really important. The basic rule is to replace electrolytes and calories after riding for an hour. Considering most of our rides are longer than one hour, there are many nutritional products designed help. Read on to…
-

Interbike’s Cascade of Clever Concepts for Children’s Bikes
If you look between the isles of Interbike (figuratively) you can see the future. I’m excited to say, when it comes to bicycles, the Children are the future. Interbike had loads of unique and exciting bikes, accessories and programs for all the little riders out there.
-
Tubeless tires on bicycles: The basics of this exciting new technology
Tubeless Tires have evolved to be lighter, more serviceable,and lighter. Read on about the advantages and how the current family of tubeless systems can benefit you.
-
Staying Safe by Assessing and Avoiding Road Hazards
Nothing spoils a great ride like a bad accident, but most accidents are avoidable. The easiest way to eliminate accidents is to assess road hazards in advance, and avoid them. Read on to learn about the most common road hazards and how to manage them.