Tag: Minnesota Ironman Bike Ride
-
Bike Pic Jan 01, Happy New Year’s with fun memories
Happy New Year’s, have a safe and memorable 2021
-

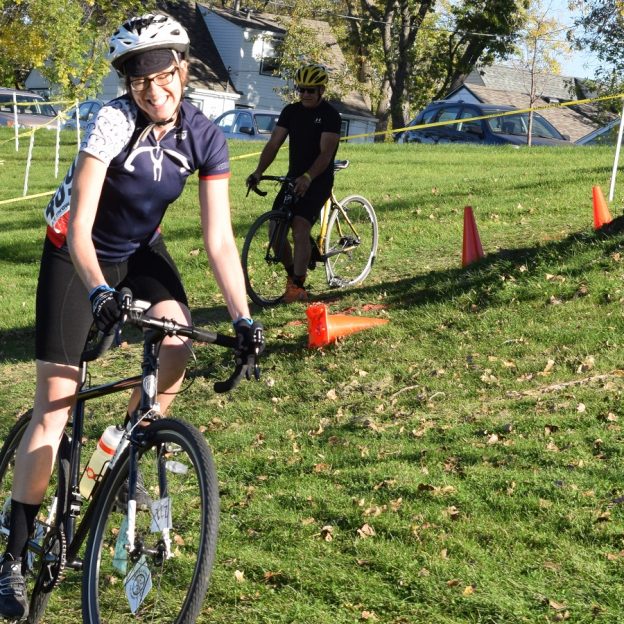
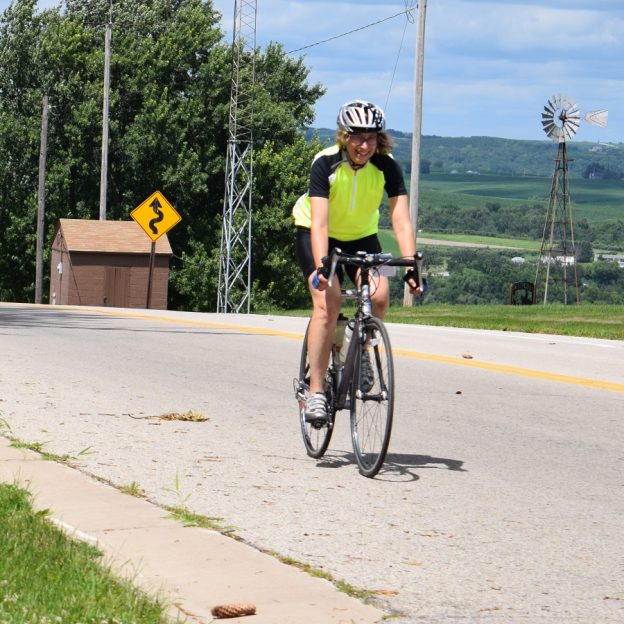
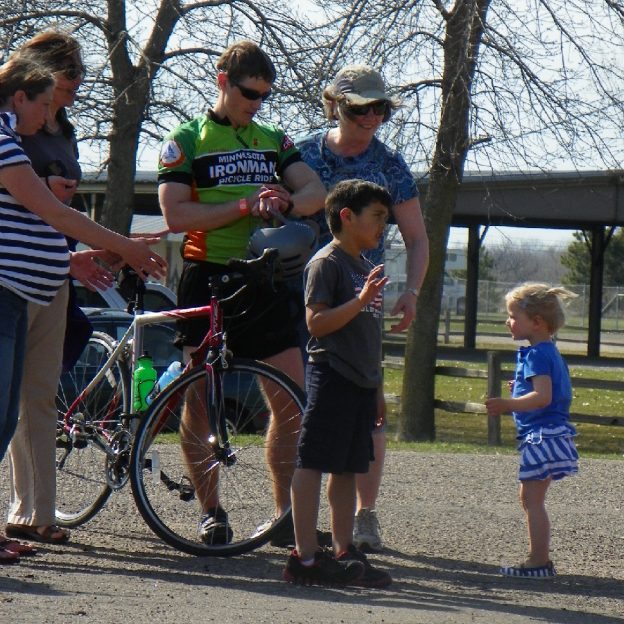
Bike Pic May 16, dress for a fun day on your bike
This Saturday, you may want to have some rain gear handy
-
First thoughts and impressions of Sealskinz Socks
It was impossible to miss the Sealskinz booth at Interbike this year. There in the center of the exhibit was a huge tub of water with a woman standing in the middle wearing nothing on her feet but socks! When I asked if her feet were wet or cold, she responded casually “nope, I’ve been…
-
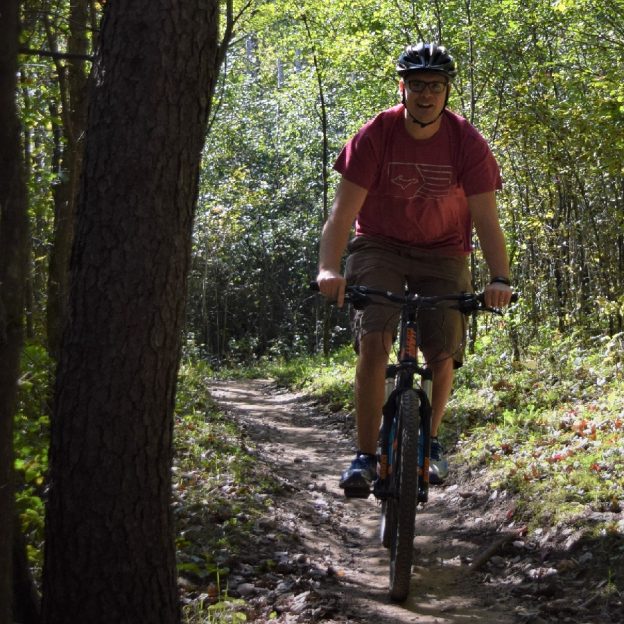
Theodore Wirth Park, a gift five minutes from downtown Minneapolis
In the western part of the Twin Cities, nestled between Golden Valley and Minneapolis is Theodore Wirth Park. A space almost as large as New York City’s Central park. With in Wirth (as it’s known to the locals) you will find several scenic, natural areas around Birch pond and Wirth Lake, plus two golf courses…
-
Staying Safe by Assessing and Avoiding Road Hazards
Nothing spoils a great ride like a bad accident, but most accidents are avoidable. The easiest way to eliminate accidents is to assess road hazards in advance, and avoid them. Read on to learn about the most common road hazards and how to manage them.
-
How to adjust your front derailleur for perfect and silent shifting
In the late 1920’s, in France, there was a bike race under way and it wasn’t the Tour De France. Instead, this race was a technological race that brought the front derailleur into the light. Before 1928, bicycles had a maximum of two speeds, and you needed to remove the rear wheel to change those…
-
Consider Buying a Nicer Helmet That Adds Comfort to Bicycle Safety
While talking with a neighbor over the weekend, he said, “I need to go get a helmet….to set a good example for my son”. We reviewed all the reasons why buy a helmet and how to find the right one. Then I added some additional suggestions on why a more expensive helmet, with comfort and…
-
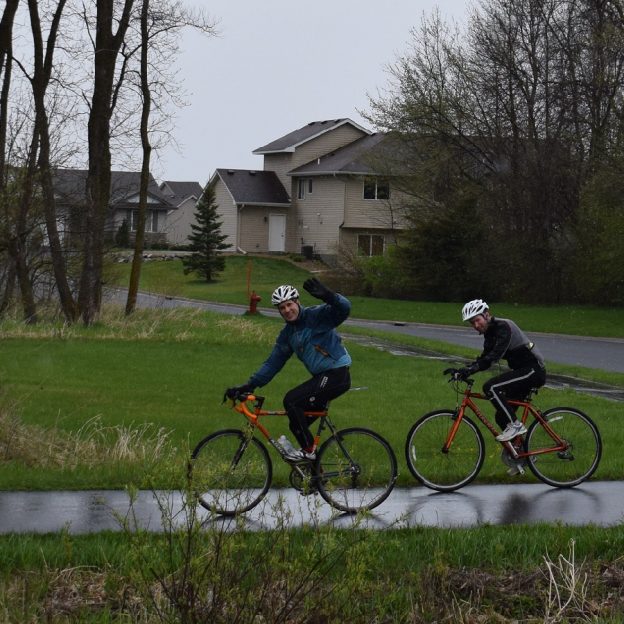
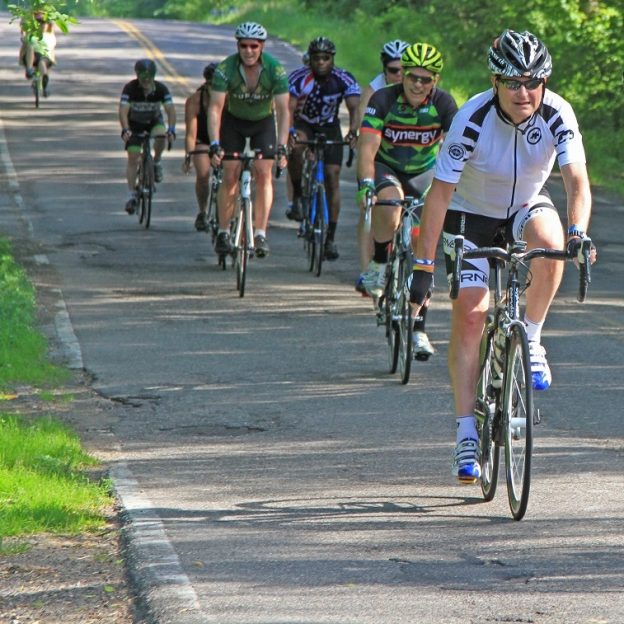
A Short Review of the 2017 Minnesota Ironman Bike Ride
My experiences on the 2017 Minnesota Ironman Bike Ride offered me and hundreds of other riders the opportunity to enjoy Carver Counties scenic rolling countryside while visiting Waconia, even when it rains.
-
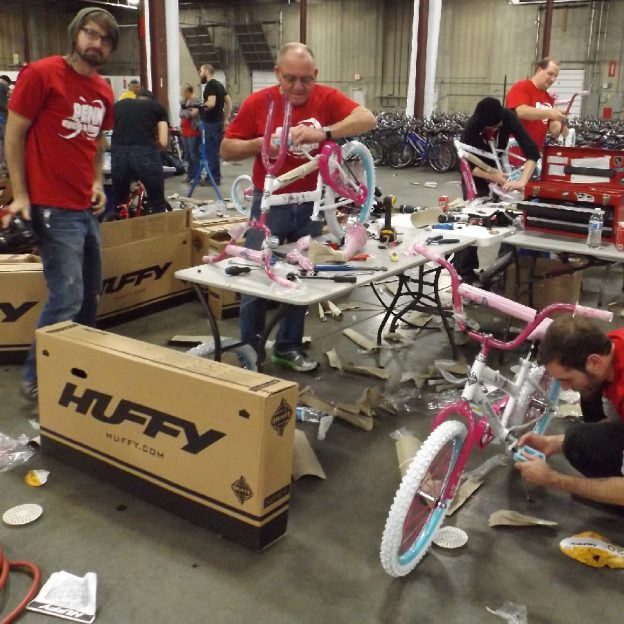
Get Started Giving Back to Your Cycling Community
Giving back to the trails, paths, roads and events you enjoy is a great way to stockpile some good karma and it’s fun! There are countless ways to give back. You can volunteer to support rides and races, you can clean up the trail system, you can help build trail, you can support high school…
-
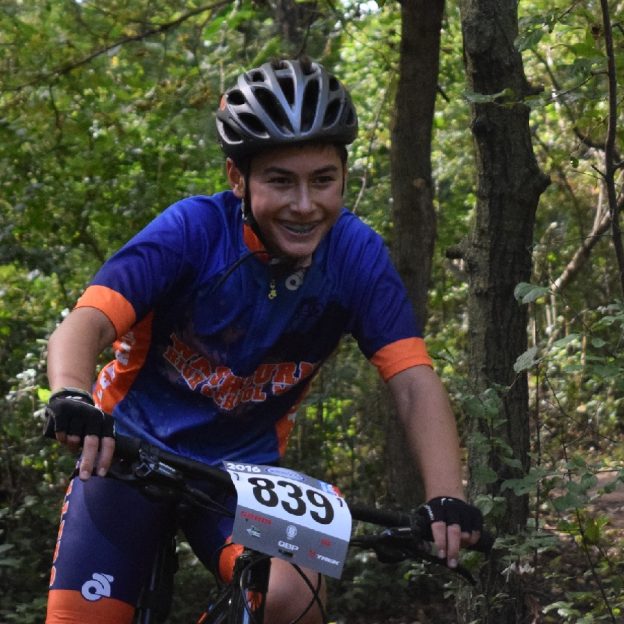
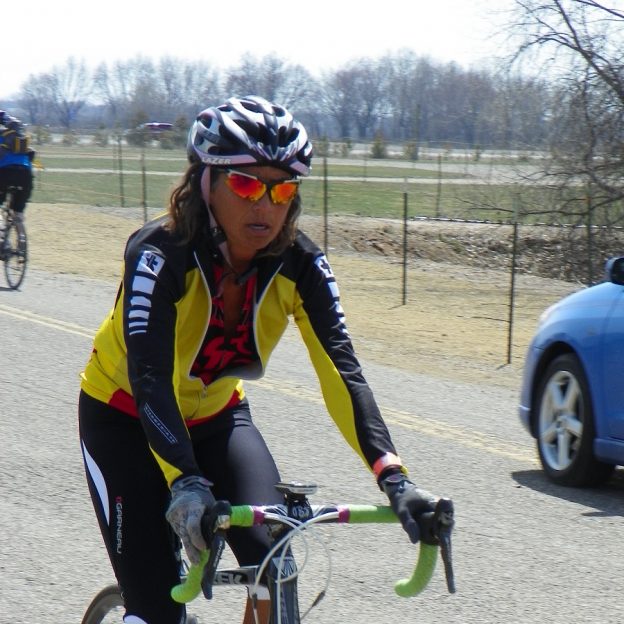
Bike Pic March 28, Give This Bike Pic a Caption for a Chance To Win!
This Tuesday, we want to have a little fun. So in honor of the Minnesota Iron Man Bike Ride approaching, let’s do a “Caption This Picture” contest.