Tag: #FindYourNextAdventure
-
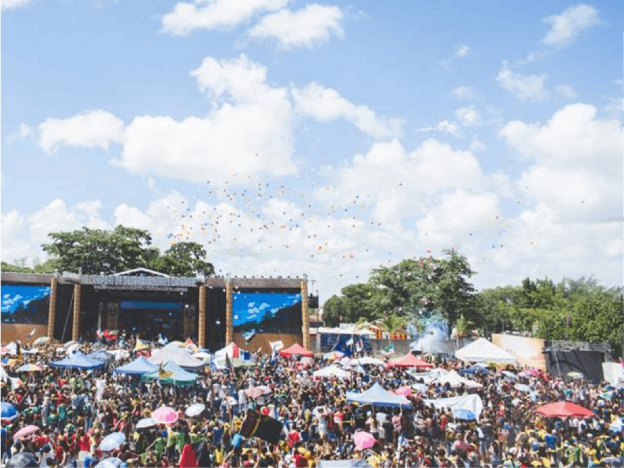
The Blaine Festival and bicycle races are two fun events to bike too
If you are in the Twin Cities Gateway Area this summer, the Blaine Festival, north of Minneapolis, is only a week away. From June 27th to the 30th you will find several fun events over the weekend. While there you may want to consider jumping on a bike and riding the velodrome track at the…
-

The art of biking and festivals in friendly Fridley Minnesota
Pedaling along the Mississippi River Trail, north of Minneapolis, takes cyclists through the remarkable art community of Fridley. With the annual ’49er Days, live theatre and a stunning gallery everyone will be inspired biking or hiking in Fridley.
-
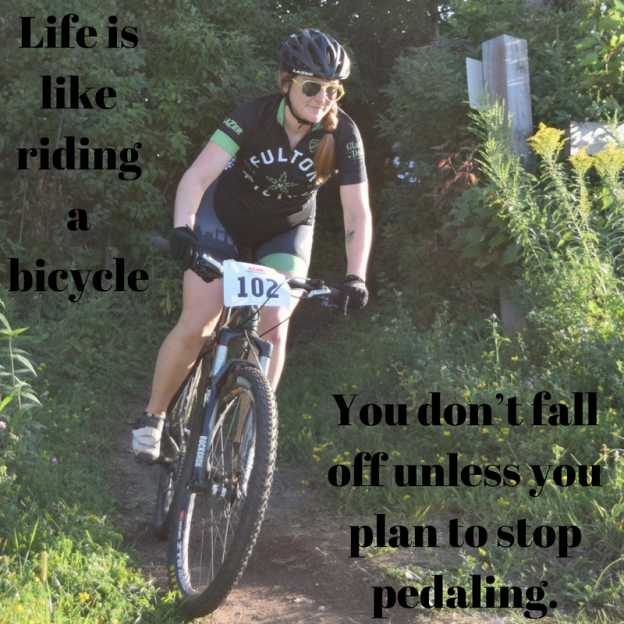
Bike Pic Dec 1, Pedaling Through Life, Reach That Destination
“Life is like riding a bicycle. You don’t fall off unless you plan to stop pedaling.” ~ Claude Pepper.
-
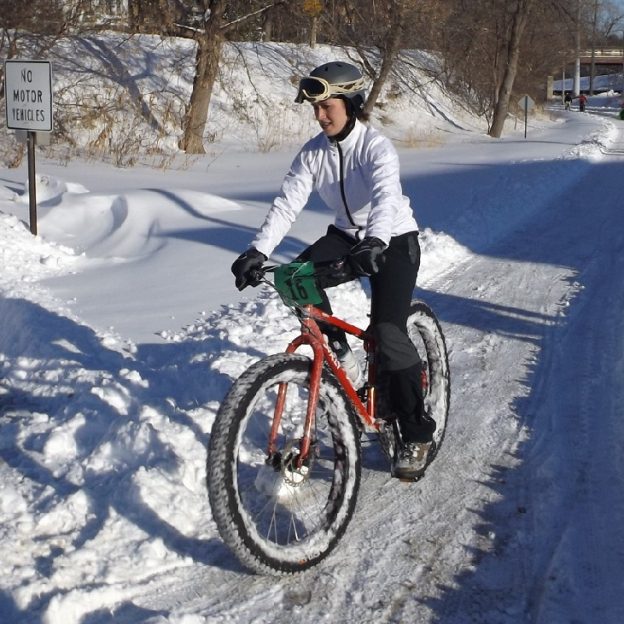
Learning to fatbike for fitness and fun as winter soon returns
As the winter winds begin to blow into our office here in Minnesota, thoughts turn toward the snow covered trails of the twin cities. We are lucky here to enjoy a massive amount of trails that are designed for winter riding. But if you are like me, and new to the whole Fatbiking thing, how…
-
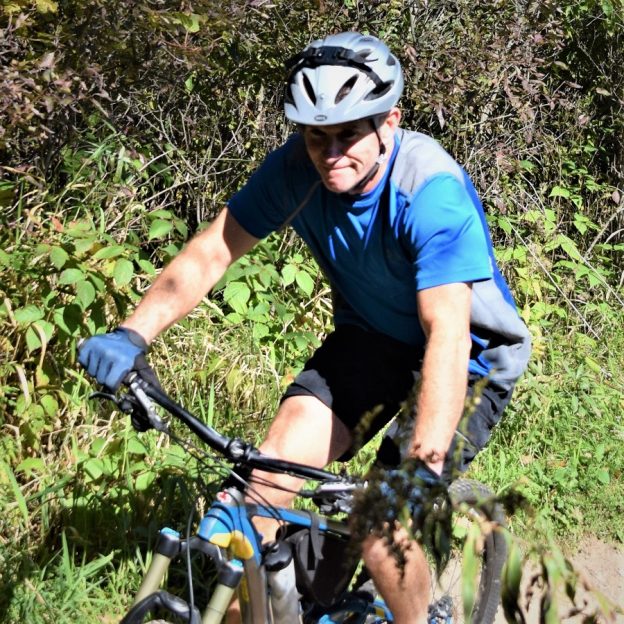
Fun moments mountain biking and the gadgets to keep us connected
For some of us, there is an undeniable call to immerse ourselves with fun moments in activities like mountain biking, in one of mother natures natural settings. Now, as the explosion of mountain biking continues there is a wide array of new bicycles, gadgets, gear and trails that we want to share with you.
-
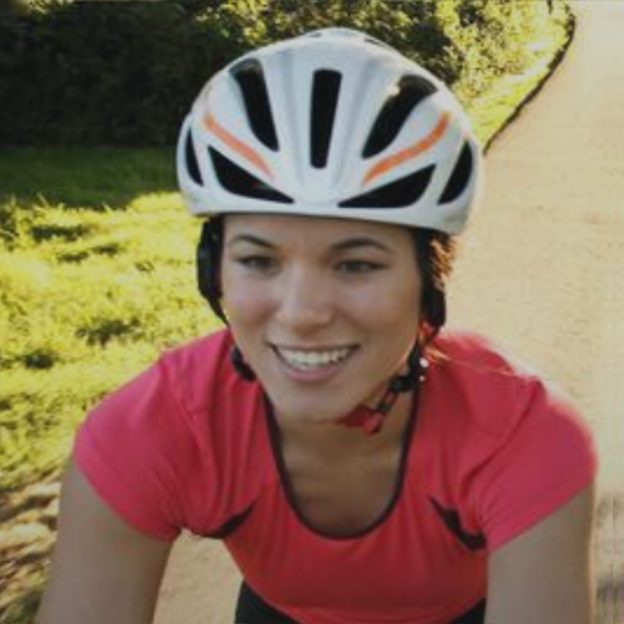
Bike Helmets showcased at Interbike featured comfort, connectivity and visibility
This year’s Interbike show had a ton of great new helmets. Read on to learn about this year’s best options for comfort, connectivity, and visibility in cycling head gear.
-
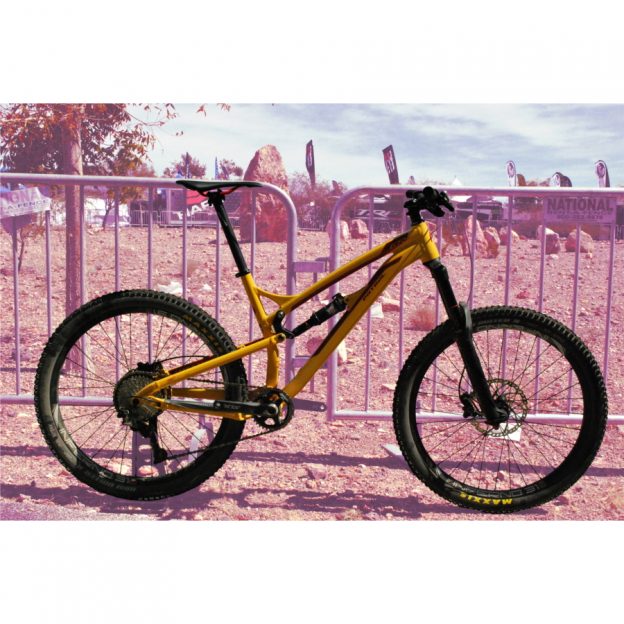
Testing mountain bikes at Interbike’s Dirt Demo: Review Patrol 672
I have to admit it, Interbike was more fun before the internet. The reason for this is that you would walk isle after isle and see all the new, awesome products. In the age of digital media, it becomes a lot harder to find something new, and even harder still to find something new and…
-
A simple look at your bikes disc brakes function and maintenance
Disc brakes were introduced on bikes as early as the 1950’s with Shimano making an actual hydraulic disc in the mid 1970’s. There were even versions of the timeless Schwinn Stingray series released in 1971 that came stock with a rear disc brake. You need to fast forward more than 25 years before the first…
-
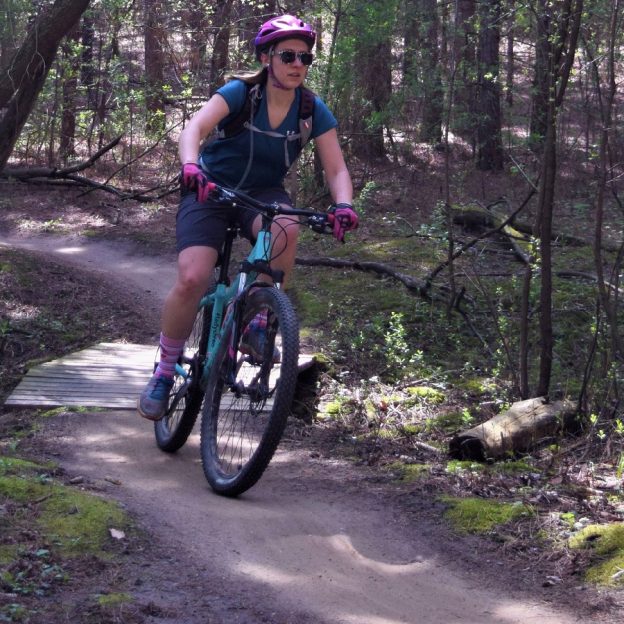
Bike Pic Aug 29, many trails are drying, check before mountain biking
Tuesday morning and this mountain biking chick finds a dry trail to enjoy. In Minnesota, check MORC trail conditions to see which trail systems may be open after all the rain, the last couple days.
-
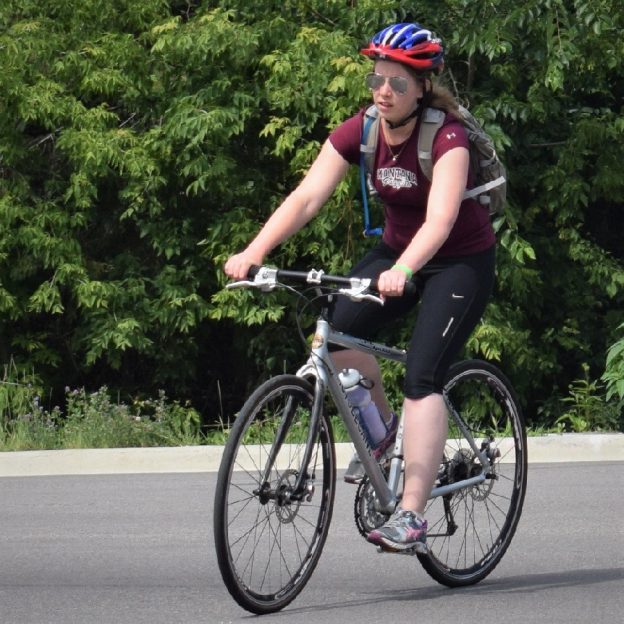
Staying Safe by Assessing and Avoiding Road Hazards
Nothing spoils a great ride like a bad accident, but most accidents are avoidable. The easiest way to eliminate accidents is to assess road hazards in advance, and avoid them. Read on to learn about the most common road hazards and how to manage them.