Tag Archives: Bike comfort

Beyond Laws and rules, we should work to employ some common courtesy toward each other while riding our bikes on the road and trail.

Tips and tricks for riding on roads more efficiently and more comfortably

by John Brown, HaveFunBiking.com

Riding on Roads

Let’s get this out of the way first – Be Safe! With spring biking season soon here, you will be riding on roads with pedestrians, other riders, and cars. With more road traffic each year it is possible to have an accident even if you do everything correctly. To protect yourself most easily and comfortably possible, wear a helmet, review the following tips, wear a helmet that fits.

riding on road

Helmets are safe and fun.

Comfort when riding on roads

Some riders experience upper body pain while riding on roads. Some of the most frequent pain is associated with the upper body due to position and fatigue. The position most responsible for this pain is the shrugging of the shoulders while riding. That shrug compresses all the muscles in your neck, shoulders, and back and fatigues them needlessly. Fatigue comes into play, starting at the hands. A firm grip on your bars is a great way to keep control of your bike, but if you hold on too tightly, you can prematurely fatigue your hands, arms, and shoulders.

riding on roads

Shrugged shoulders fatigues all the muscles in your neck, and shoulders

Rather than shrugging your shoulders and squeezing the bars into dust, try to relax your back (see picture) and shoulders and hold the bars firmly. By relaxing your upper body, you will preserve strength throughout your ride, making for mile after mile of pain-free riding.

Vision and Route

Riding on roads

Cars, pedestrians, other riders, potholes, grates, as well as traffic lights and signs, need your attention while riding on roads. The best way to keep yourself safe and in control is to direct your attention outside your immediate area. Try to focus thirty or forty feet down the road rather than right in front of you. If you need to change direction or stop quickly, thirty feet is about the minimum distance you need to react. As you ride more, you will get comfortable with what your reaction time is. Additionally, knowing your route in advance leaves your mind free to concentrate on the things going on in front of you.

Control

Front brake

Your front brake is your most powerful tool in stopping. As a new rider, we get taught that the best way to stop is to use both brakes evenly and that if we use too much front brake, we are prone to crash “over the bars.” While going “over the bars” is a real concern, you can avoid it with a little practice. Not only can going “over the bars” be combated, but you will learn to stop your bike more effectively in the case of an emergency. As you begin to stop, your weight shifts forward and adds more pressure to the front wheel. This pressure can do two things. If you brace properly with your arms, that pressure to the front wheel increases traction and stops the bike. If you do not support yourself moving forward, the increased pressure to the front wheel turns into a fulcrum. Practice stopping by finding a piece of unoccupied road you are comfortable with. Get up to speed and begin applying only the front brake (see picture below). Be cognizant about bracing yourself with your arms while stopping. Do this a little at a time; each successive stop should be a bit more power. Stop once you are applying enough power to stop while the rear wheel is slightly lifting.

riding on roads stopping

As you brake harder, more pressure is applied to the front wheel

Rear Brake

The rear brake is far more susceptible to skidding than the front. While skidding a tire, you are not in complete control or reducing speed effectively. The bright side is that a rear-wheel skid is far more controllable than a front-wheel skid. In wet, loose, or slippery conditions, a rear brake can be safer to use. The rear brake is also great for controlling your speed in small amounts.

Both Brakes

The ideal time to use both brakes is during turning. As you turn and brake, you are sharing traction between turning and stopping the bike. It is crucial to try and control your speed before turning rather than after turning.

Cadence

Your chances of lifting a 1000 pound weight once are pretty slim, but you might be able to lift 100 pounds ten times and can more than likely lift 20 pounds 50 times. Riding a bike is the same way. If you try to shove the bike up a hill in your hardest gear, the chances of making it are slim. Shifting your bicycle into easier gear and pedaling faster (higher cadence) will propel you up almost any hill. Higher cadence riding is just one way to be more efficient on your bicycle.

Draft

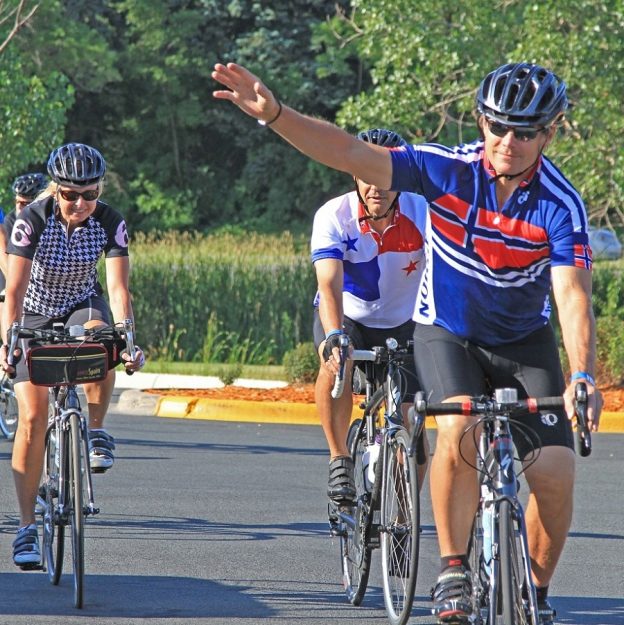
Riding on roads drafting

The riders above are both working too hard. The riders below are drafting well.

Another way to be more efficient is to use the work of others to your advantage. Most of your effort goes to moving your own mass at lower speeds, but as your speed increases, more and more of your effort goes to moving the air around you. In fact, air resistance grows exponentially at a rate of about 7 mph. That said, the amount of effort required to move your bike at 14 mph is twice as much as at 7 mph. Also, as you approach 21 mph, that effort is four times more than going 7 mph. A way to save energy is to ride behind another rider who has already moved the air (see above). By drafting, you are riding in the slipstream of another rider. To draft, try to ride at the same speed ahead of you and keep your front wheel within two feet of their rear wheel.

Be Prepared

Be sure to ride with the materials needed to get home. Train yourself to fix a flat and carry enough food and water to keep your energy up throughout the ride. Consider carrying packable rain gear with you as well. If you liked this info, take a look at our Mountain biking hacks also.

Riding a bicycle is one of the most enjoyable hobbies available. When you have your bike fit to your body it becomes even more enjoyable. Don’t let little nagging annoyances take away from your great ride.

Be more comfortable and have more fun when you follow these bike fit tips!

John Brown, HaveFunBiking

Riding a bicycle is one of the most enjoyable hobbies available. When you have your bike fit to your body it becomes even more enjoyable. Don’t let little nagging annoyances take away from your great ride. Read on to learn the causes and fixes to cycling’s most basic discomforts.

Before you ride, visit your local bicycle shop for a bike fit

A proper bike fit can alleviate most common discomforts. To set up your bicycle, I encourage you to find a friend to help look at you on your bicycle and adjust your bike fit. If no one is available, use your phone and take video of you sitting and riding your bicycle.

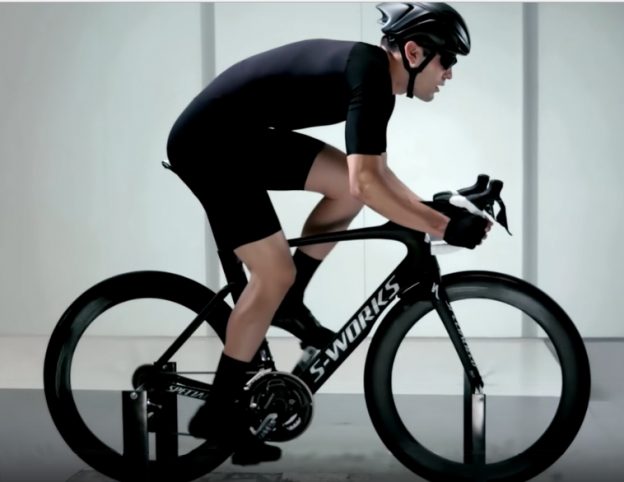
Bike Fit explained

The left rider’s position is safe and comfortable while the rider on the right is in for some sore days

Saddle Height

Look at the two riders above. The rider on the right is in for some sore days. The excessive amount of bend to his legs is making his knee support all his pedaling forces at a very acute angle, which puts excess strain on the joint when pedaling. His low saddle overworks his quadriceps and doesn’t engage his gluteal or calf muscles. The rider on the left is bending his leg at a wider angle which results in proper leg extension while pedaling, and incorporates all his muscles (helps with efficiency).

To set saddle height: Sit on your bike, place your heel on your pedal. Next, rotate the pedals backward (see below). You want your leg completely extended while keeping your hips level (at the bottom of the pedal stroke your leg should be just barely locked out with your heel touching the pedal). If you find you aren’t getting complete extension raise your saddle, but lower it if you’re tilting your hip to reach the bottom of the pedal stroke. Once you begin pedaling naturally (with the ball of your foot on your pedal, rather than your heel), you will have the proper amount of bend to your knee.

Don’t Lean Too Much

The rider on the right above is leaning over drastically, which means his upper body weight is supported only by his lower back and arms. This position will results in a sore back, shoulder, arms, and painful hands. His head is positioned so low he must crane his neck up aggressively just to see. This will also result in a sore neck.

The rider on the left has more support. By sitting a bit more upright he is using his bone structure to support his upper body. Adjust your handlebar so that your back is at an angle over 45-degrees from the ground. Your arms should extend at a 90-degree angle from his back with a very small bend to the elbow. Adjust your grips and controls to be in place when you reach out to take the bar. If you need to turn your wrist up or down to shift or brake you should re-adjust the controls.

Look Around

The rider on the left also has a very comfortable position for his head. He can see around and in front naturally without needing to stretch.

Once you have a comfortable setup, you should experience hours upon hours of painless riding. If discomfort continues after looking at charts on the web, then consult with your local bike shop. They are trained in advanced personal fitting techniques and can offer insights into potential causes of discomfort.

If you enjoy our content and want access to exclusive content fr our members only, please sign up for our free, weekly, E-Magazine