Category: News
-
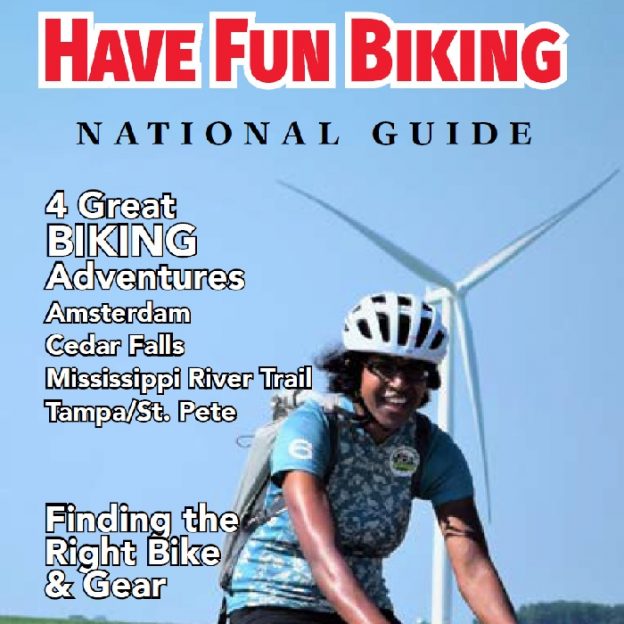
The inaugural issue of the Have Fun Biking National Guide is here
We are pleased to introduce our inaugural issue of the Have Fun Biking National Guide. It all started back in 2006 with HaveFunBiking.com (HFB) and ever since we have been publishing bike guides. Like our Bike/Hike Guide series, our goal is to continue to help bicyclists, seasoned and new to the sport with the the latest information…
-
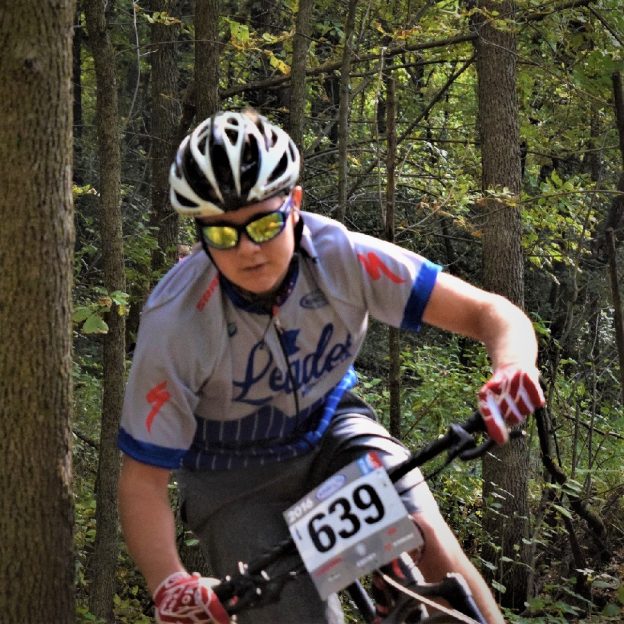
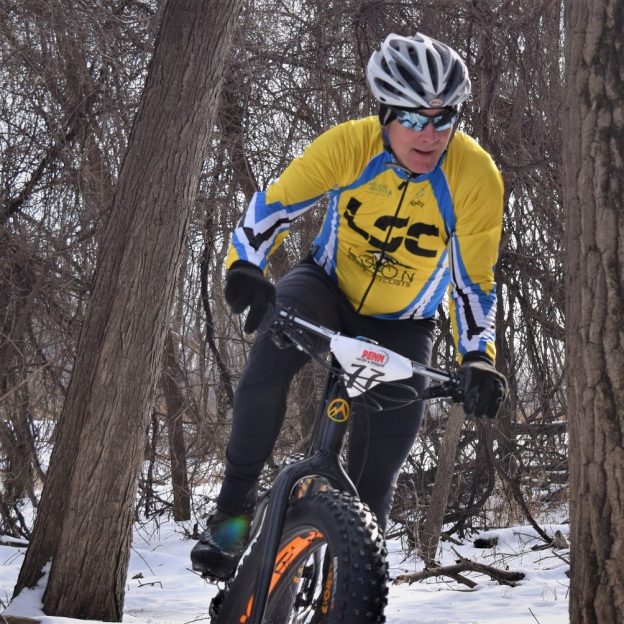
Bike Pic Dec 14, fond summer memories at a Jail Trail competition
Fond memories for this young mountain biker on the Jail Trail in St. Cloud last summer, competing on the Mankato High School team of the Minnesota High School Cycling League.
-
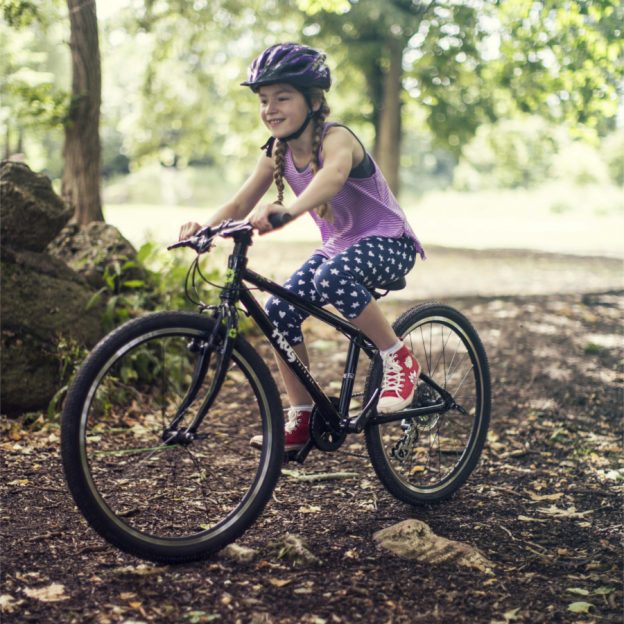
The Frog 62 shows off a new approach in kid’s bike design
It almost feels like Christmas here at HaveFunBiking.com. Why such a great day?…..Because we have a new bike to review! The Frog 62 is special because, for the first time this writer won’t be the one reviewing it – more about that in a bit.
-
The HaveFunBiking Holiday Gift Guide for the riders on your list
HaveFunBiking.com has you covered with our gift guide for the very best holiday ideas. These items have been picked by our staff for the rider on your list.
-
A mid-term review of this amazing Sealskinz Halo Winter Glove
Now that I have had over a month of cold weather under my belt, I feel comfortable talking about the Sealskinz Halo Glove. The onset of Minnesota’s winter is probably colder than most peoples harsh winter months, so I feel that this mid term review is probably a great indicator for 90 percent of America…
-

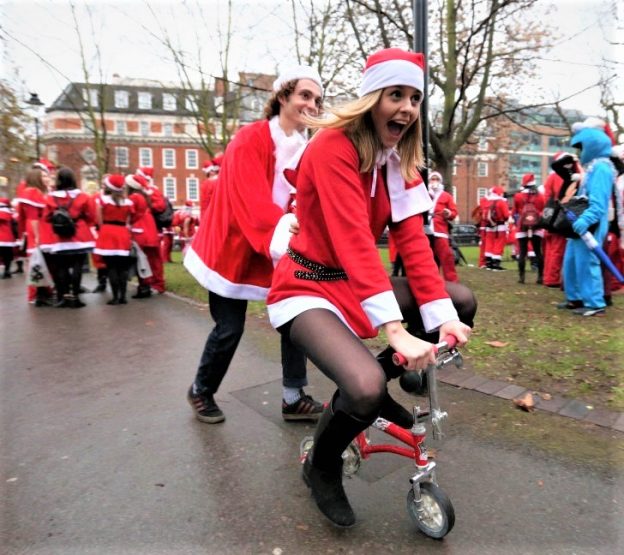
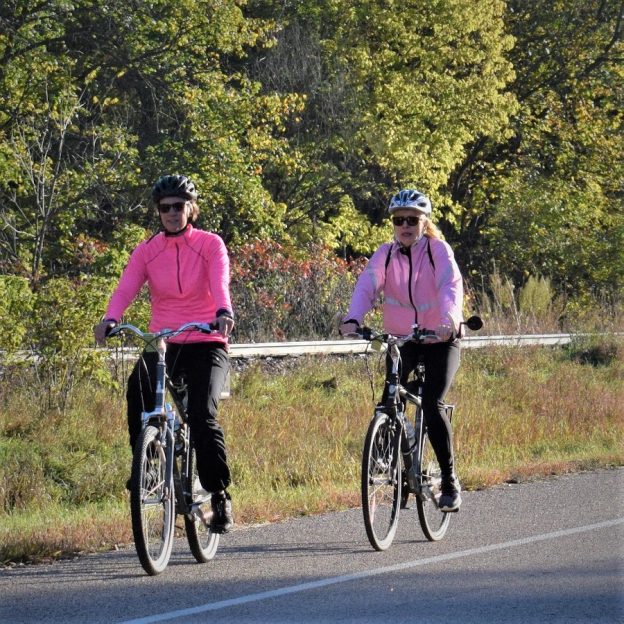
Bike Pic Dec 7, a warm weather bike reprieve in Florida
Riding the bike friendly Fred Marquis Pinellas Trail from St. Pete to Clearwater, Florida gave these two Midwest biker chicks a reprieve from the cold weather at home.
-
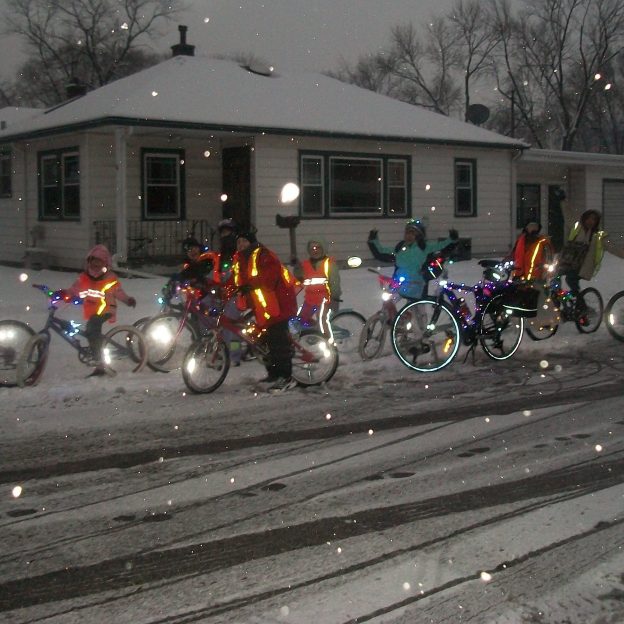
Visibility and you, staying safe while riding your bike at night
With Thanksgiving long gone, we are firmly in the grip of winter. With colder days and darker nights, my thoughts turn to visibility on my daily commute. Here is some info and a few tips on staying visible while riding at night.
-

Rotlicht: Out of the box review for a one of a kind rear blinker
Along with Lupine’s SL-A7 we received a smaller package containing the Rotlicht blinker. With a brightness of 160 lumens this light might just be the best rear blinker ever made. Read on to see what else is hiding inside.
-
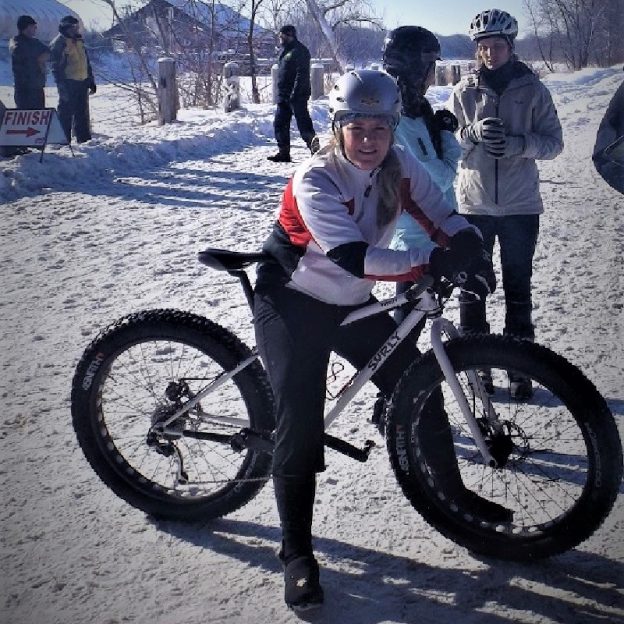
Bike Pic Nov 5, winter fat bike fun is back in the upper Midwest
Winter fat bike fun is back in the upper Midwest as this biker chick takes a break for this photo opp. down in the Minnesota River bottoms, In Bloomington.
-
Bike Park Rapids and enjoy Minnesota’s forest and lake features
In the heart of Minnesota’s lake country, Park Rapids never lacks when it comes to outdoor recreational activities. Throughout the seasons, spending time visiting family and friends in the area I have had many fond memories. And pedaling to an outdoor festival in the summer there are plenty of good times to catch.